Latest Articles
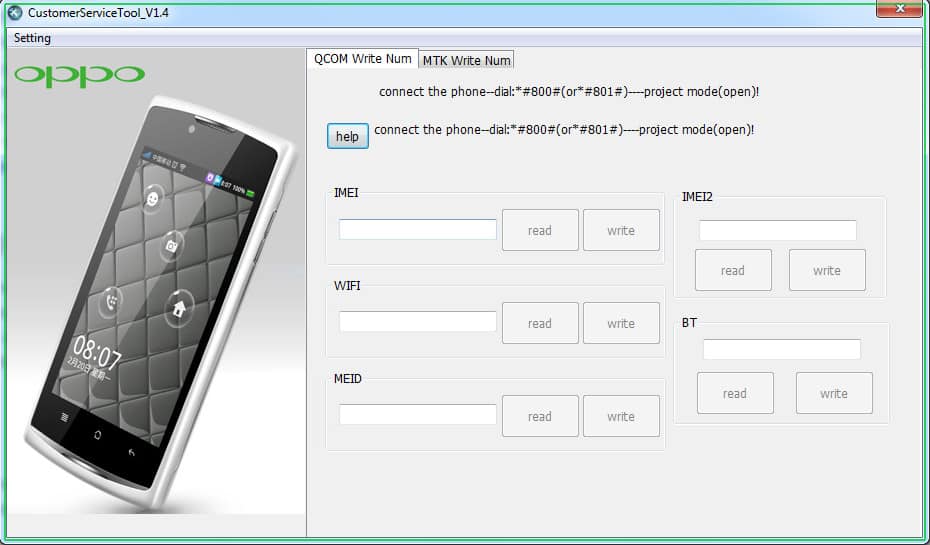
What is the ROM2Box Tool? ROM2box is a powerful tool and GUI featuring all-in-one tool in a single app supporting both Qualcomm and Mediatek devices. It ...
★★★★★ App Info NameAndroid Utility Pro Version124 CategoryTools Compatible WithAndroid 5.0+ Size156 MB Updated26 Feb ...
★★★★★ App Info NameGoogle Play Store Version39.5.19 CategoryUtility Compatible WithAndroid 5.0+ Size58 MB Updated24 ...
Samsung Galaxy S24 Ultra is a popular mid-range smartphone with great features and performance. However, like any other device, it's not without its fair ...
Whatever phone you are using, you should know how to boot into recovery mode because it can be handy in many situations. Recovery mode can help you ...
Are you experiencing issues with your Samsung Galaxy S24 Ultra? Maybe it's lagging, freezing, or you're facing some software glitches or selling your phone. ...
- Google Camera v8.4 APK Download for Pixel 6 & 6 Pro
- Наигру: спортивные игры APK 0.6.3 Download
- BN App APK 2.8.0 Download
- Bubble Shooter Original Game APK 7.9 Download
- Box Simulator Brawl Boxes APK 15.7 Download
- Kredit HP Online Tanpa Kartu Kredit – INFO Kredit APK 8.2.1 Download
- Go kart race buggy kart rush APK 1.0 Download
- Lightning Ninja APK 1 Download
- hum kids by Colgate APK 2.9.4 Download
- يلا نفرز APK 1.1.7 Download
- Papo Town: Forest Friends APK 1.1.0 Download
- Plinko Mania APK Varies with device Download
- EiTV Play APK Varies with device Download
- Treasure Master APK 1.0.6 Download
- Spacero: Sci-Fi Hero Shooter APK 1.7.5 Download
- Popular
- Comments
- Android Wear (3)
- Apple (9)
- Apps (40)
- Entertainment (6)
- Photography (18)
- Social (1)
- Tools (13)
- Utility (4)
- Cherry Mobile (1)
- Coupons & Deals (1)
- VPN (1)
- Custom recovery (18)
- Custom ROM (33)
- EMUI Themes (18)
- Featured (9)
- Games (18)
- Action (6)
- Arcade (4)
- Board (2)
- Horror (2)
- Redeem Codes (2)
- Google (2)
- Hacking Tricks (7)
- Huawei (187)
- Lenovo (1)
- LG (5)
- Misc (4)
- MIUI Themes (13)
- News (2)
- Nokia (4)
- Oneplus (5)
- Oppo (4)
- Realme (20)
- Reviews (9)
- Robot Vacuum (1)
- Root (14)
- Samsung (236)
- Smart Home (2)
- Social Media (1)
- LinkedIn (1)
- Stock Firmware (154)
- Stock Wallpapers (7)
- The Best (58)
- Apps (54)
- paid (14)
- Top 10 Paid Android Apps (7)
- Apps (54)
- Tools (55)
- Tutorials & How To (310)
- Customization (37)
- Error Resolving (166)
- Recovery Mode (14)
- Remove FRP (4)
- Reset (28)
- Secret Codes (14)
- Security (3)
- Tricks (35)
- UNBRICK/BOOTLOOP FIX (4)
- Unlock Bootloader (5)
- Xiaomi (14)
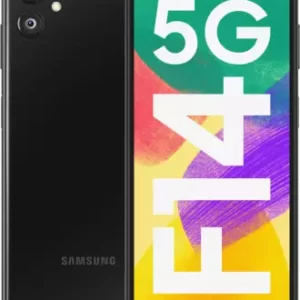
How to Hard Reset Samsung Galaxy A14: A Step-by-Step Guide
As you embark on your smartphone journey, it’s essential to know how to handle common problems that may arise. Whether you are experiencing software issues,

Game Guardian APK
App Info Name Game Guardian Version Latest Category Tools Compatible With Android 5.0+ Size 20 MB Updated 20


